- Understanding Spacebar Mechanics
- Necessary Items for Safe Removal
- Steps for Removing the Spacebar
- How to Handle a Stabilizer During Removal
- Cleaning and Maintenance Tips
- Reinstalling the Spacebar Correctly
- Ensuring Accuracy in Reattachment
- Tips for Smooth Installation
- Closing Thoughts
- Frequently Asked Questions
In the vast realm of tech troubleshooting, one common annoyance is dealing with a loose or sticky spacebar keycap. Whether it’s dust accumulation or a need for cleaning, mastering the art of removing and reattaching this essential key can save you from endless frustration. Understanding how to navigate this process efficiently can be a game-changer in maintaining your keyboard’s functionality. So, let’s dive into the historical context of keyboards and unravel the mystery behind conquering the spacebar keycap dilemma.
Understanding Spacebar Mechanics
Importance of the Spacebar Keycap
The spacebar keycap is a vital component for efficient typing. It allows for the separation of words and provides a comfortable resting place for thumbs during typing sessions. Familiarizing yourself with this key’s mechanics can help in maintaining your keyboard and improving your overall typing experience.
- The size and design of spacebars vary across different keyboards, affecting the feel and sound when pressed.
- Knowing how to remove the spacebar keycap can be useful for cleaning purposes or replacing it if damaged.
Understanding how the spacebar functions within your keyboard setup is essential. By learning about its structure, you can troubleshoot any issues related to its performance or appearance.
Exploring Spacebar Structure
The spacebar mechanism typically consists of stabilizers that keep it balanced during use. These stabilizers prevent wobbling and ensure consistent keystrokes while typing. Removing the spacebar keycap involves gently prying it off using a tool like a keycap puller or your fingers.
- Take caution not to damage any surrounding keys or mechanisms while removing the spacebar keycap.
- Once removed, you may clean underneath the cap to remove dust or debris that could affect its functionality.
Necessary Items for Safe Removal
Keycap Puller Tool
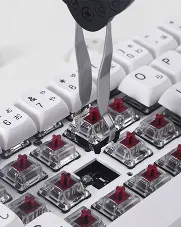
To remove a spacebar keycap, you need a keycap puller tool. This tool helps in safely taking off the key without damaging it. The puller’s design allows for easy and efficient removal.
A keycap puller has two wire loops that fit underneath the keycap. By gently pressing down on the spacebar and inserting the loops under each end, you can easily lift off the keycap without using excessive force. This ensures that both the keycaps and keyboard remain undamaged during removal.
Clean Workspace Preparation
Before starting, ensure your workspace is clean to avoid losing any small parts like plastic clips or metal brackets that may come loose during removal. Having a clutter-free area will make it easier to locate these tiny components if they accidentally fall out while working on removing the spacebar keycap.
It’s essential to work on a flat surface with ample lighting so you can clearly see what you are doing. A well-organized workspace will help prevent any accidental loss of screws, wires, or other crucial elements from your keyboard during this process.
Steps for Removing the Spacebar
Lift Gently
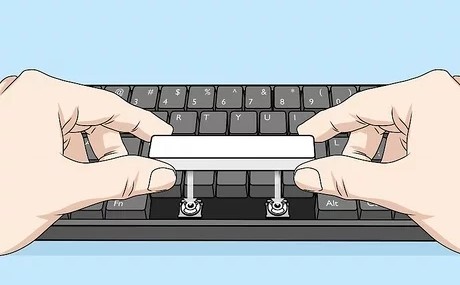
To remove a spacebar keycap, start by gently lifting one end of the spacebar. Use a tool like a flathead screwdriver or your fingers. Apply gentle upward pressure to avoid causing damage to the keyboard.
When you have lifted one side of the space bar, gradually work your way across to detach it completely. Ensure you lift it evenly along its length to prevent any bending or breaking of the keycap. This method helps in safely removing the key without damaging it.
Even Pressure
It’s crucial to apply even pressure when detaching the keyboard keys. Uneven force can lead to damage or breakage, making it harder to remove and replace them later on. By ensuring consistent pressure, you can safely remove and reattach keys without any issues.
- Lift one end gently.
- Work gradually across.
- Apply even pressure throughout.
How to Handle a Stabilizer During Removal
Identifying Components
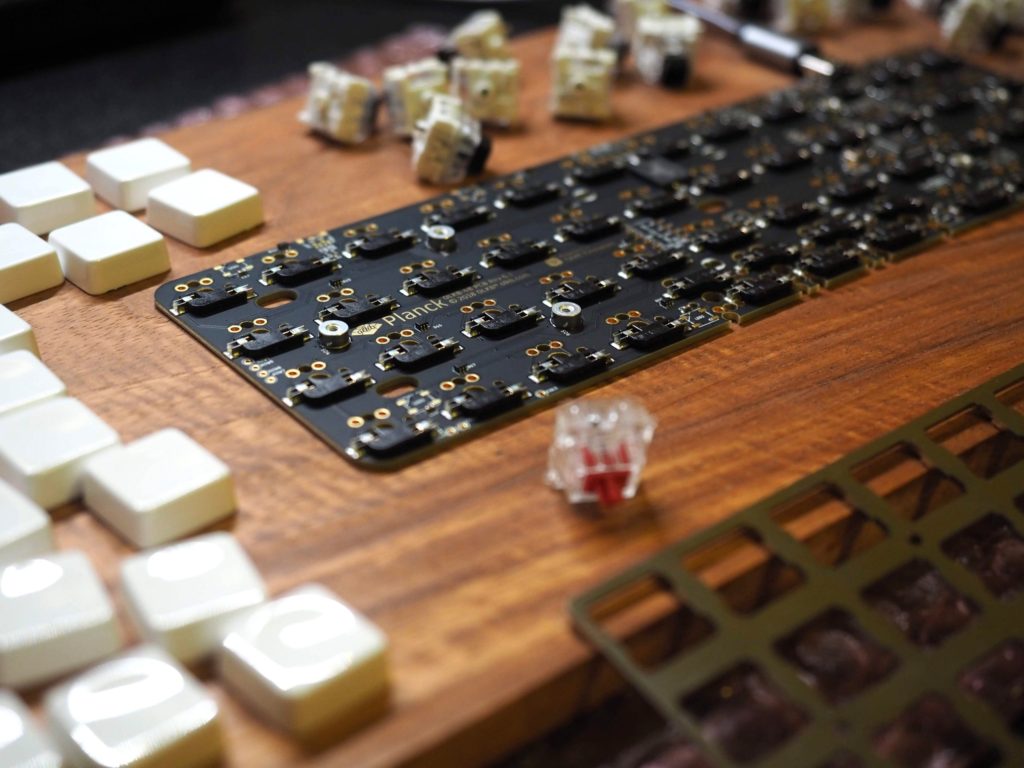
When removing the spacebar keycap, it’s crucial to first identify the stabilizer components. These include the metal wires and plastic clips that ensure smooth key movement. By recognizing these parts, you can proceed with caution.
It is essential to understand how each part of the stabilizer works together before attempting removal. The metal wires are responsible for keeping the keycap level during typing, while the plastic clips secure them in place. Taking note of these elements will help you navigate through this process smoothly.
Careful Handling Tips
To avoid damaging your keyboard’s stabilizer clips, handle them gently during removal. These delicate pieces can easily bend or break if mishandled. When working on removing the spacebar keycap, ensure that you apply even pressure and avoid any sudden movements that could harm these components.
Remember to keep all removed parts organized for easy reassembly later on. This includes storing screws separately and labeling each component if necessary. By maintaining order throughout this process, you’ll prevent any confusion when putting everything back together.
Cleaning and Maintenance Tips
Use Compressed Air
When dust and debris accumulate under the spacebar keycap, using compressed air can effectively remove them. By directing the airflow under the key, you can dislodge any particles causing issues with your keyboard.
Regularly cleaning your keyboard prevents sticky or unresponsive keys. It’s essential to ensure that no obstructions are affecting the functionality of your spacebar.
Wipe Down Surrounding Areas
After removing the keycap and clearing out any debris, it’s crucial to wipe down both the keycap and surrounding areas with a soft cloth. This helps maintain cleanliness and ensures smooth operation of the spacebar.
Reinstalling the Spacebar Correctly
Proper Alignment
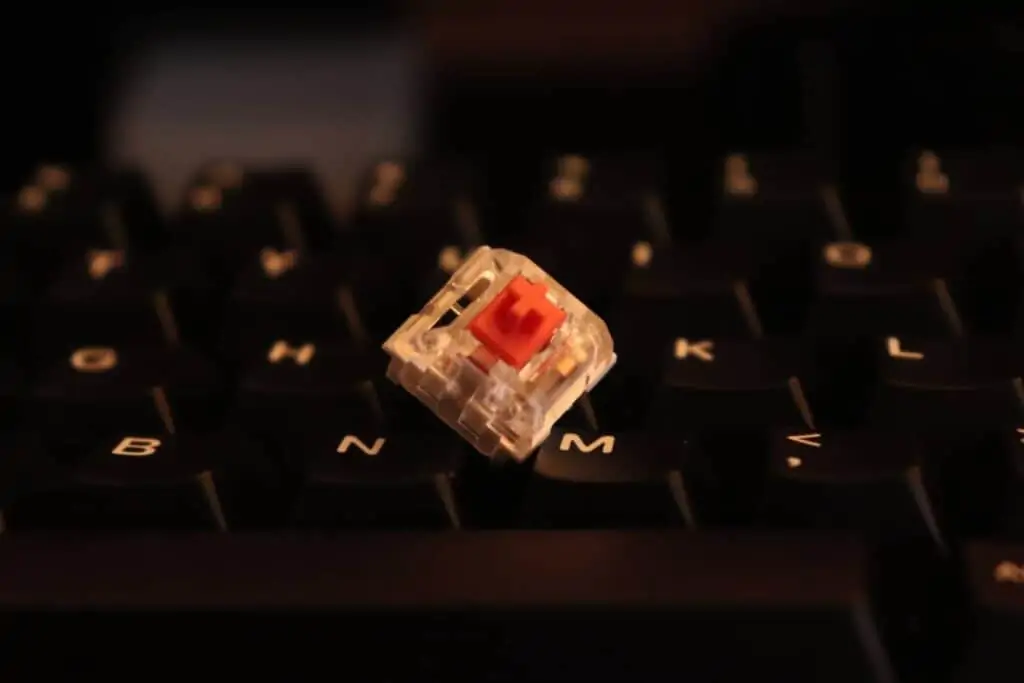
To remove the spacebar keycap, align it accurately over the switch stem. Make sure it sits flush to avoid tilting.
Ensure that both sides of the keycap are aligned symmetrically with the switch stem. Press down gently to secure the attachment.
Double-check alignment by verifying that all edges of the keycap are evenly positioned before finalizing installation.
Secure Attachment
Press down evenly on both sides of the spacebar keycap to ensure a secure fit without any wobbling or unevenness.
Remember not to apply excessive force when pressing down on the keycap as it may damage either the key or its mechanism.
- Avoid using tools like screwdrivers for installation as they can cause damage.
- Ensure there is no debris present on or around the switch stem before reinstalling.
Ensuring Accuracy in Reattachment
Testing Functionality Post-Reinstallation
After reattaching the spacebar keycap, it’s crucial to test its functionality. Press the spacebar multiple times to ensure it responds correctly. If there are any issues, such as sticking or unresponsiveness, immediate action is necessary.
It’s essential to check if the spacebar returns to its normal position after pressing. Ensure that it aligns properly with the other keys and sits flush on the keyboard. Misalignments can lead to operational problems, affecting your typing experience negatively.
Confirming Smooth Keypress Response
Once you’ve reattached the spacebar keycap, confirm that each press registers accurately on your screen. A smooth and consistent keypress response indicates a successful reinstallation process. Address any irregularities promptly to prevent further complications.
- Test functionality by pressing spacebar
- Check alignment for proper positioning
- Confirm smooth keypress response post-reinstallation
Tips for Smooth Installation
Gentle Pressure
When removing spacebar keycaps, remember to apply gentle pressure. Press down evenly on both sides to prevent damage.
It’s crucial not to force the keycap onto the switch stem. Pushing too hard can lead to breakage or misalignment, causing issues with functionality.
Patience is Key
To ensure a successful installation process, practice patience. Take your time aligning the keycap correctly before applying pressure.
Remember that rushing through the process can result in errors and potential damage. Slow and steady wins the race.
Closing Thoughts
You’ve now mastered the art of removing and reinstalling your spacebar keycap like a pro. Remember, patience is key in this process. Take your time, follow the steps diligently, and soon you’ll have a squeaky-clean keyboard ready for more typing adventures. Don’t forget to give your keyboard some love with regular maintenance to keep it in top-notch condition.
So, what are you waiting for? Grab your tools, get that spacebar off, and show your keyboard some TLC! Your fingertips will thank you for the smooth typing experience that awaits. Happy typing!
Frequently Asked Questions
How do I safely remove a spacebar keycap?
To safely remove a spacebar keycap, you should use a keycap puller or gently pry it off using your fingers. Avoid using excessive force to prevent damage to the keyboard or keys.
What items do I need to remove a spacebar keycap?
You will need a keycap puller, tweezers (optional), and cleaning supplies such as compressed air and isopropyl alcohol for safe removal and cleaning.
How can I clean my spacebar keycap effectively?
To clean your spacebar keycap effectively, you can use compressed air to blow away debris and then wipe it with isopropyl alcohol on a microfiber cloth for thorough cleaning.
What should I keep in mind when reinstalling the spacebar correctly?
When reinstalling the spacebar, ensure that the stabilizer wires are properly aligned before pressing down evenly on both sides of the key. Double-check alignment before fully securing it in place.
Any tips for ensuring smooth installation of the spacebar after removal?
For smooth installation post-removal, make sure all components are free of dust or debris. Align the stabilizer wires correctly, press down evenly while reattaching, and test functionality before regular use.


