Do you have sensitive information stored on your MacBook laptop? Or just want an extra layer of security for your device? Then you must know about locking the keyboard of your MacBook! Whether it’s a physical or digital lock, this simple yet important step will help protect your data from unwanted eyes.
In this guide, we’ll show you how to lock your keyboard mac and keep everything safe – regardless of whether you use the latest model or an older one. Read on to learn all about selecting and implementing the best-suited locking method for maximum accuracy and protection.
See also: Best Wireless Keyboard for Mac
What is a Keyboard Lock?
The Keyboard Lock feature found on both Windows and Mac devices helps to ensure a distraction-free environment. By disabling the keyboard input temporarily, you can avoid any unintentional keystrokes that could otherwise disrupt your work as you try to stay focused on whatever task is at hand.
A keyboard lock is useful to:
- Prevent accidental keystrokes
- To clean your mechanical keyboard
- Ensure an uninterrupted movie or video experience by blocking any unnecessary keyboard input.
- prevent interference by small children and even pets
How to Lock the Keyboard On Mac?
Here are 4 ways you can lock your keyboard on a MacBook:
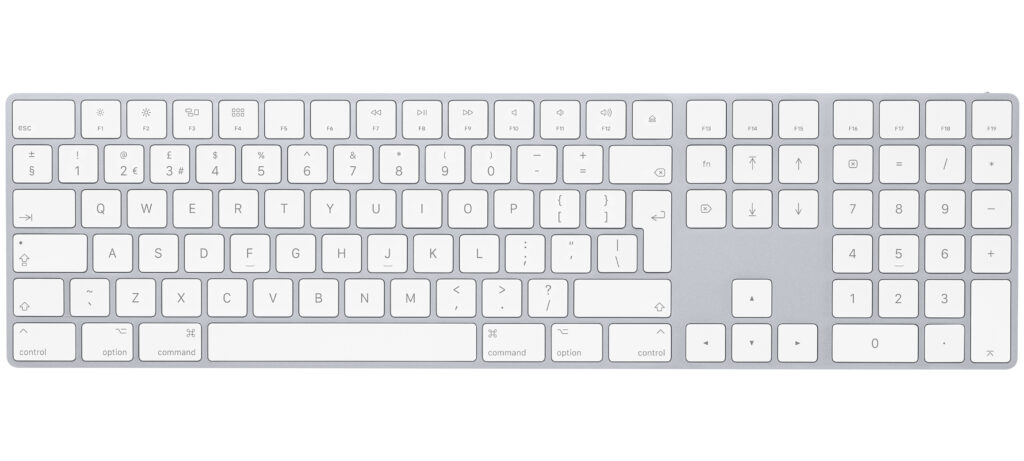
1. Buy an External Keyboard
Need an extra layer of security for your keyboard? Consider purchasing one with a built-in keyboard lock. It works similarly to using function keys, which allow you to switch the keyboard on and off easily. It can be wired or wireless. However, it is possible that you do not find a keyboard compatible with your MacBook.
2. Download a Third Party App
Sometimes it’s worth downloading a third-party app to help lock your Mac’s keyboard. Here are some of the apps you can use:
Alfred 5:
Alfred is a personal assistant app that can help manage your Mac, including locking the keyboard when needed. It comes with an extensive suite of features and offers customizable options for locking and unlocking your keyboard.
Keyboard Lock:
Keyboard Lock is a lightweight app that helps you lock the keyboard when needed. It allows you to set a password and switch the keyboard on or off with just a few clicks.
MollyGuard 1.0:
MollyGuard 1.0 is a feature-rich app that helps you lock your Mac with just one keystroke, making it easy to prevent accidental keystrokes. Just like any other form of security, it is important to be mindful and remember not to share the password with anyone.
Karabiner Element:
Karabiner Element is a feature-rich app that can help you lock your Mac’s keyboard easily. It comes with a variety of customization options and a password feature, which ensures your data remains secure. To protect your keyboard with Karabiner Element, simply follow these steps:
- Launch the downloaded Karabiner Element application.
- Enter “disable” into the search bar.
- Select the box corresponding to your laptop’s internal keyboard.
That’s it! You now have a secure and safe virtual environment for all of your data!
Lockey:
Lockey is another great app for locking your Mac’s keyboard. It has a simple, user-friendly interface and provides an additional layer of security. It also comes with a password feature to keep your data safe from unwanted access.
If you ever desire to watch a video or listen to audio on your Mac but do not need the keyboard, these Apps will allow you to lock it without turning off the display. It’s an ideal solution that permits uninterrupted engagement with content while ensuring added security for your MacBook!
3. Locking the Entire Computer
If you want to keep your Mac secure without downloading an external application. You can try Control+Shift+Power Button to lock your computer and Option+Command+Power Button for putting it into sleep mode – both will disable the keyboard but also shut down the remaining components.
4. MacBook Settings
Here is another solution to disable the MacBook keyboard. Just follow the instructions:
- Open System Preferences
- Click on the Accessibility icon
- Click on the top right “Options” button alongside the Enable Mouse Keys checkbox.
- Put a checkmark next to “Ignore Built-In Trackpad When Mouse Keys is On”
- Click “OK”
- Close System Preferences
Now in the future when you want to disable the MacBook keyboard, tap Option (Alt) five times. To reactivate the keyboard, tap Option five times again.
This option comes with two drawbacks:
- This doesn’t disable the keyboard; it just turns off most of its keys. You can still use 7, 8, 9, U, I J, K, or L to operate your mouse. Additionally tapping on “I” will generate a mouse click for you as well!
- The numeric keypad, if featured on your external keyboard, will no longer register numerical inputs; instead, it will now be used to direct the mouse cursor.
How To Lock Keyboard on MacBook For Cleaning?
To lock the keyboard you can use the free app KeyboardCleanTool. This app goes above and beyond by locking down every single key on your keyboard, even the top row of media keys and the Touch ID button. However, it still allows the user access to their trackpad so they can click a button to unlock/disable the lock when needed.
To begin using KeyboardCleanTool, you must first give it permission in System Preferences (System Settings) > Security & Privacy > Privacy. Then:
- Unlock the padlock located at the bottom-left corner of your screen
- Authenticate yourself with a password.
- Click on Accessibility
- Mark the box beside KeyboardCleanTool to allow it access.
Now that everything is set up correctly, you can effortlessly lock any keyboard without having to log out for cleaning purposes!
Conclusion
We have discussed four different solutions to How To Lock the Keyboard on a MacBook. All of these solutions come with their pros and cons and can be used depending on your needs. We hope this article has helped you lock you keyboard and stay safe from mistyping. Thank you so much for reading!