
Mostly popular among gamers, the quality of the Razer keyboard now attracts office users as well. To get the most out of your Razer keyboard, you need to clean it regularly. This will ensure that your keyboard is functioning at its best and that your typing and gaming experience is enhanced. Since Razer manufactures dedicated switches for different keyboard types, unlike other manufacturers, so in this article, we will look at a proper step-by-step guide on how we can safely clean razer keyboards.
Let’s first start with the kind of keyboards manufactured
Types of keyboards manufactured by Razer
Razer is said to have the best wireless mechanical keyboards due to their high-quality electronics and they claim that the keyboards last a whopping 80 million keystrokes.
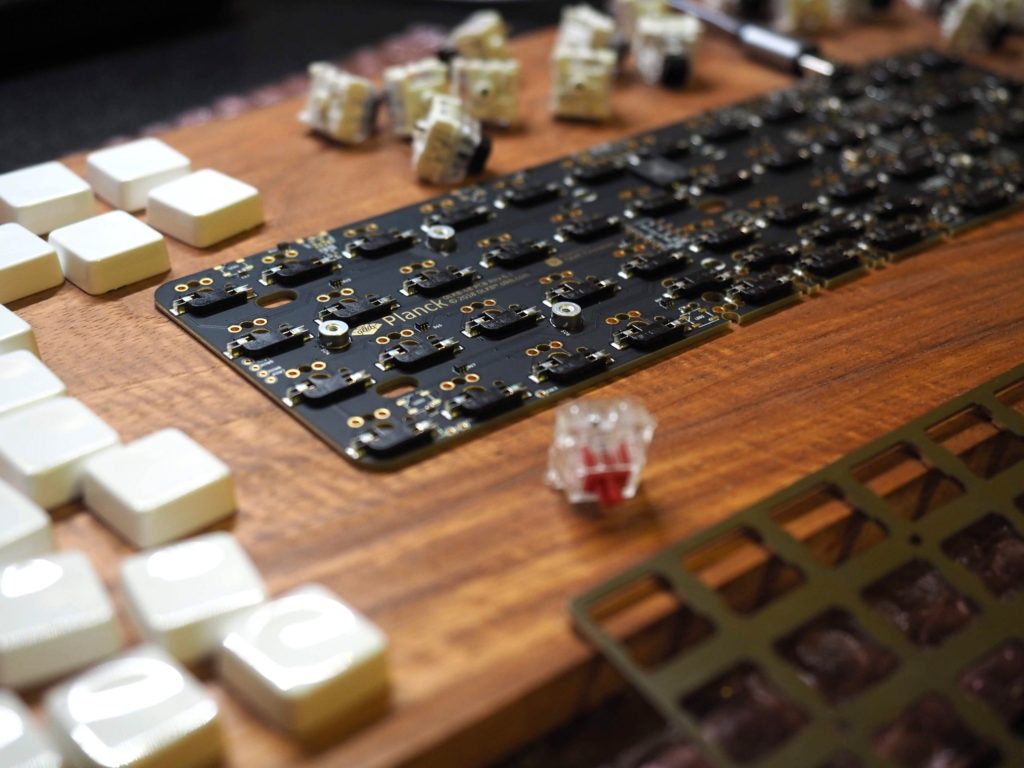
There are three different kinds of keyboards manufactured by Razer and all of them have a switch mechanism.
Mechanical Keyboard

In 2010, Razer released its first mechanical keyboard – the Razer BlackWidow. It was designed for professional gamers and was one of the very first gaming keyboards to use green switches. Green switches are quieter than blue or brown switches and are preferred by many gamers as they provide a more responsive experience. Razer mechanical keyboards are similar to other gaming keyboards, so cleaning them is also similar to cleaning any other gaming keyboard.
Mecha-Membrane Keyboard

A mecha-membrane keyboard is a combination of both mechanical and membrane keyboards. It integrates both switch and rubber dome mechanisms, which makes it an interesting option for users who want the convenience of a membrane keyboard combined with the responsiveness of a switch mechanism. A keyboard with both a cushioned touch and a clicky sound is emerging as an important product in the gaming community. As the keyboard incorporates both a rubber dome and switches, it is important to take extra care when removing the keys. Additionally, cleaning and lubricating become a more time-consuming task.
Ultra-Low-Profile Keyboard

If you prefer a keyboard that is low-profile, the ultra-low-profile keyboard may be perfect for you. Aside from providing the features of a normal chiclet keyboard, you will get tactile feedback due to the mechanical switches. Removing the keycaps on a keyboard of this type can be more difficult than on other types. As a result, you’ll need to bring along additional tools in order to remove and clean them.
Essential tools for cleaning Razer Keyboard
Let’s now come to the cleaning part and see what tools would be essential to clean the razer keyboard:
- Two lint-free microfiber cloths
- A keycap remover
- A flat-head screwdriver
- Isopropyl Alcohol (70%)
- A cleaning brush
- Cotton buds
- Soap and water
- A can of compressed air
- A pair of tweezers
(Step-By-Step Guide) On How To Clean a Razer Keyboard
Despite its amazing features, even a Razer keyboard needs to be looked after. Cleaning it occasionally can not only keep it looking neat and tidy but will also help to preserve the lifespan of the keyboard.
So, since it sounds like you’ve got everything you need to clean your Razer keyboard. Let’s go ahead and take a look at the cleaning process.
1. Disconnect the keyboard
We recommend disconnecting your Razer keyboard’s cables before cleaning it regardless of even its being spill-resistant. This is important as we would be using some liquids which can damage the PCB with a few drops if care is not taken.
Moreover, it is crucial for your own safety as when water or flammable isopropyl alcohol is left in the ports, there’s a risk of getting an electric shock if the cable isn’t unplugged.
2. Lightly clean the keyboard’s dust
To clean the keyboard, use a lint-free microfiber cloth to wipe away the dust and food particles. If you notice greasy fingerprints or tougher stains, wet another cloth and apply pressure to remove them. Turn them upside down and shake them slightly to remove any food crumbs or tissues stuck. Finally, if nothing works, you can try cleaning it with a can of compressed air. Blowing air beneath the keycaps will remove tougher dust particles.
3. Pull off All Keycaps
The next step is now for deep cleaning, which aims to remove the dirt from your keyboard’s inner parts. So, for that, you must pull out all the keycaps and for that, you can:
- Click a picture of your razer keyboard
- Insert the keycap puller into the left side of your desired key and then insert it into the right side of your desired key.
- Then, with a little pressure, pull upwards.
- Repeat this for all the smaller keys.
- For longer keys like shift, pull the key upwards and slide the stabilizer using a screwdriver.
4. Soak the keycaps
- To clean your keyboard, prepare a solution of warm water and soap in a container. Ideally, use a dish cleaning soap or detergent.
- The keycaps should be left in the container for about an hour to remove any residues.
- After cleaning each key, be sure to wash it and discard the solution.
- Let them dry, or to make the process faster, you can use compressed air but don’t keep it under the sun as it might fade off the colors or the imprinted letters of your keycaps.
5. Clean the surface below the keycaps
To wipe the heavy dust particles, you can use a medium cleaning brush. Then use a cotton bud to clean the corners of each switch. Then, you can use tweezers to pull out any hair or blow them off using compressed air. For tougher stains, you can use a cloth dipped in isopropyl alcohol, but don’t wet it too much.
6. Reattach keyboard keys
Now that your razer keyboard is cleaned, it is time to reattach the keys.
For that, use your hand, align and adjust the keycap properly. Be careful when adjusting ultra-low-profile keys as they may be fragile and may break quite easily. To ensure that the connector meets and connects properly, tap on the keycap. To ensure that the key is properly reattached, press it multiple times.
7. Connect the Power Cord
So now, the final step is just to let your razer keyboard dry since moisture remains after deep cleaning. Unless the peripheral is fully dried, don’t connect to the power cord.
Once it is moisture free, it is time to plug in the power cord and start using your razer keyboard!
Conclusion
These were a few simple steps to help keep your razer keyboard clean and smelling good! I hope you will enjoy the process as much as we did telling it! Happy cleaning 🙂


Pingback: Top Keyboard Switches for Gaming | All About Keyboards